How to Set Up a VRBO Listing, Step by Step
Setting up a VRBO listing is not hard. It just feels hard because most guides are written by people who forgot what it is like to do it the first time. Here is the whole process in plain English, the same way we teach it inside our community.
One note before we start. Everything below applies almost identically to Airbnb and other rental platforms. We use VRBO as the example because it is where many of our members begin, but the skill you are learning is listing, not a website. Learn it once and you can use it anywhere.
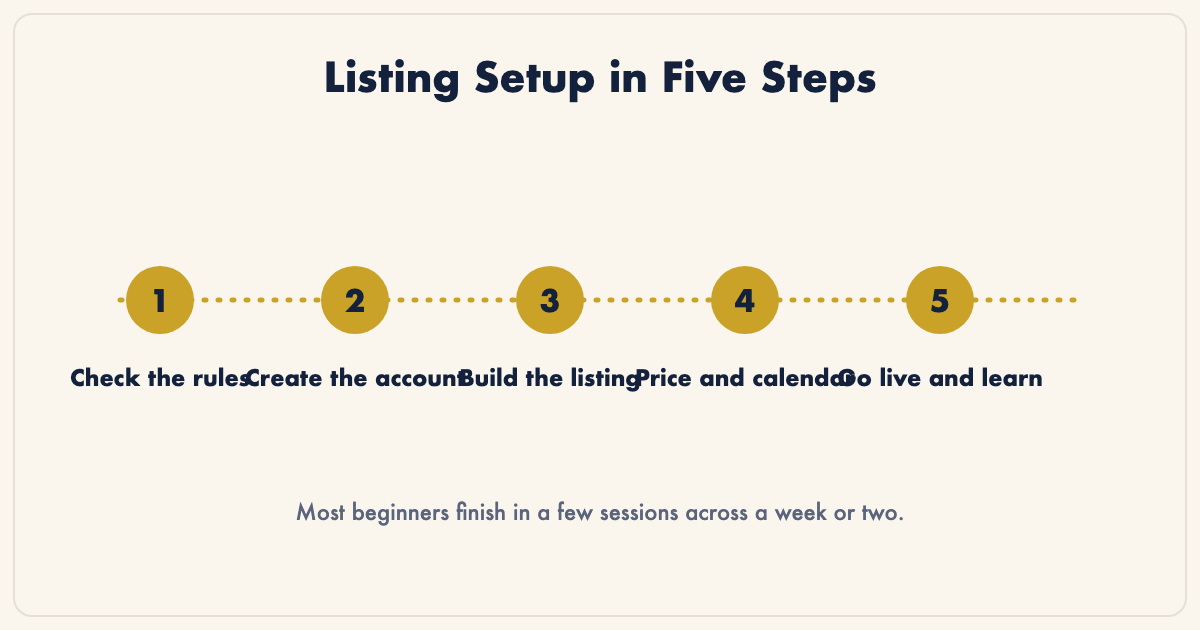
Before You Start: Check Your Rules
This is the step most guides skip, and it is the one that matters most. Before you list anything, know what rules apply to you.
- If you own the property outright, check your local short term rental rules. Some cities require a permit or license, and some limit how many nights a year you can rent.
- If you belong to an ownership or points program, read its policy on renting. Some programs limit commercial renting, and pretending otherwise can put your membership at risk.
- If you have an HOA, check its rental rules too. HOA restrictions surprise more new hosts than any city rule.
Ten minutes of reading here saves months of headache later. If you are not sure where to look, ask. This is exactly the kind of question we answer every day in our community.
Step 1: Create Your Account
Go to vrbo.com and choose the option to list your property. You will create an account with your own email and your own password. Keep both somewhere safe.
One important principle: the account should be yours, in your name, under your control. If anyone offers to run a listing for you inside your account, be careful. You want to understand and control anything that touches your money. This is a rule we repeat constantly, because the people most likely to be targeted by listing scams are new hosts who just want someone to handle it.
Step 2: Build the Listing Itself
VRBO will walk you through the basics: property type, number of bedrooms and bathrooms, amenities, and photos.
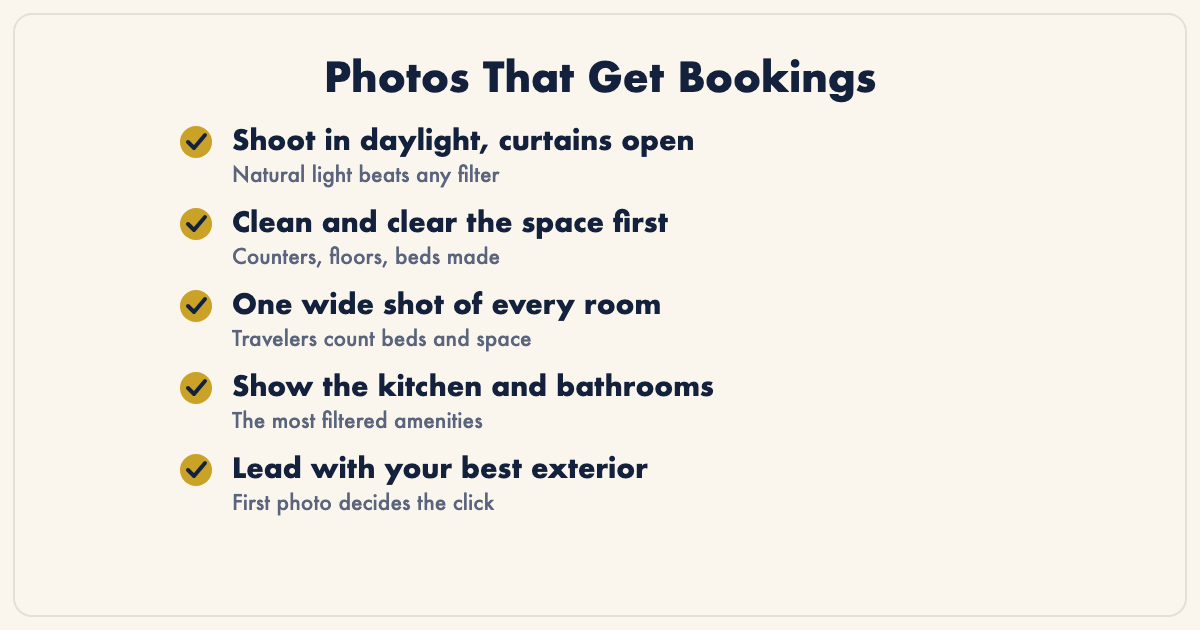
- Photos matter more than anything else on the page. Clean the space, open the curtains, and shoot in daylight. Phone cameras are good enough.
- Write the headline for a traveler, not for yourself. "Quiet two bedroom near Old Town, full kitchen, sleeps six" beats "Beautiful getaway."
- Fill in every amenity honestly. Travelers filter by amenities, so a blank field is a lost search. If you have a washer, a crib, or fast wifi, say so.
- Write the description in the order travelers care about: where it is, what it sleeps, what makes it comfortable, then the extras.
Step 3: Set Your Price and Calendar
Do not guess your price. Look up five listings like yours in the same area and see what they charge on the dates you plan to offer. Start in the middle. You can adjust anytime, and you will.
Open your calendar only for dates you truly want to host. It is better to start with a few strong weekends than to open a whole year you are unsure about. Our daily research exists exactly for this: knowing which dates in which markets have real demand behind them.
Step 4: Set Up Payments and House Rules
VRBO will ask how you want to be paid and will verify your identity. This is normal and it protects you. Then write simple house rules: check in and check out times, no smoking, no parties, whatever matters to you. Clear rules attract better guests, and better guests leave better reviews.
Step 5: Go Live and Learn
Publish the listing. Then treat the first month as school. Watch what travelers ask, what dates get attention, and what nearby listings do. Adjust one thing at a time so you can tell what worked.
The owners who do well are not the ones who started perfect. They are the ones who started, then improved a little every week.
The Mistakes We See Most
- Waiting for perfect. A good listing live this month beats a perfect listing live never.
- Copying a big city pricing guide for a small market. Your five nearby comparables know better.
- Opening every date, then feeling trapped by a booking they never wanted. Start small.
- Skipping the rules check. It is boring and it is the foundation. Do it first.
The Honest Summary
The setup takes most beginners a few sessions across a week or two, mostly spent on photos and writing. None of it requires technical skill. What it requires is someone to tell you the next step when you feel stuck, which is exactly why Listing Scouts exists. Our research team posts a fresh opportunity every day, and our course walks you through everything above with your hand on the keyboard.
Want Someone to Walk You Through It
Book a free call. We learn what you own and point you at your best starting place. You keep the plan either way.
Book a Free Call or get the free Top 10 Destinations Guide